Choosing the right heater is only half the equation when designing a comfortable, efficient indoor or outdoor space. The real performance of an infrared heater, its coverage, heat intensity, energy efficiency, and overall comfort level, depends heavily on how it’s installed. Mounting height, angle, spacing, and placement all play a crucial role in ensuring the radiant heat reaches the people and surfaces who need it most.
Unlike forced-air heaters, which warm the air and distribute heat randomly through circulation, infrared heaters emit directional radiant energy. This means where you position the heater determines exactly where the comfort goes. When installation is optimized, the heat feels instant, even, and natural, warm like the sun on your skin. When installation is incorrect, heat may feel weak, uneven, or insufficient for the environment.
In this comprehensive guide, we’ll walk through everything you need to know about mounting and positioning infrared heaters, including:
-
How mounting height affects heat intensity
-
The difference between indoor and outdoor placement
-
Why angle and direction matter
-
Ideal spacing between heaters
-
Safety clearances and installation best practices
-
Common mistakes to avoid
-
How Calcana’s system design makes positioning easier and more effective
-
Recommended mounting strategies for homes, patios, restaurants, and commercial spaces
By the end, you’ll know exactly how to place your infrared heater for maximum comfort, coverage, and efficiency, whether you’re warming a backyard patio, a loading bay, a restaurant terrace, or a large industrial shop.
Why Positioning Matters for Infrared Heating: Maximize Comfort With Proper Placement
Infrared heating works differently from any other heating method. Instead of warming the air, which can blow away, escape through door cracks, or rise uselessly to the ceiling, infrared heat warms people, objects, surfaces, and floors directly. This radiant energy travels in a straight line, just like sunlight.
Because of that, positioning isn’t optional, it’s essential.
Radiant Heat is Directional
Think of infrared like a flashlight:
Where you point it is exactly where the heat goes.
Anything outside the “beam” receives very little warmth.
This means:
✔ The heater must be angled correctly.
✔ The height must be appropriate for the space.
✔ The heater must have an unobstructed path to the target area.
Heat Intensity Changes with Distance
The closer the heater is (within safe clearances), the more intense the radiant heat. Too high and you lose comfort. Too low and the heat may be overwhelming.
Positioning Determines Coverage
The width and length of the heating zone depend partly on:
-
Heater size and wattage/BTU
-
Angle
-
Mounting height
-
Distance to the target area
Proper placement ensures the heat is felt evenly across the intended zone.
Correct Mounting Boosts Efficiency
A perfectly positioned heater does more with less energy. If your heater has optimal line-of-sight to occupied areas, you’ll feel warmer at a lower setting.
This is the foundation of infrared heating design, and the reason professional installation planning matters so much.
Infrared Heater Mounting Height Guidelines
Mounting height is one of the most important installation decisions. The height affects:
-
Intensity of warmth
-
Size of the heating footprint
-
Comfort level
-
Safety clearances
-
Energy efficiency
Although exact measurements depend on heater type and model, here are general guidelines used across the industry.
Ceiling Mounting (Most Common)
Ceiling mounting provides the best coverage, the best safety clearances, and the most efficient radiant spread. It keeps heaters protected from accidental contact and ensures a wide heating angle.
Best for:
-
Restaurants
-
Patios
-
Garages
-
Workshops
-
Warehouses
-
Residential outdoor seating
Typical Mounting Height Ranges:
-
Low-output heaters: 7–10 feet
-
Medium-output heaters: 8–12 feet
-
High-output commercial heaters: 10–16 feet
The Key Rule:
Higher ceilings require higher BTU or wattage, or a more direct angle.
If you mount a heater too high without increasing the intensity, the radiant warmth will feel faint.
Wall Mounting
Wall mounting is common for spaces that lack overhead structure or where directional heating is required.
Best for:
-
Balconies
-
Narrow patios
-
Loading docks
-
Barns
-
Areas where ceiling mounting isn't possible
Key Considerations:
-
Must be angled downward 25°–45° for proper coverage
-
Must be free of obstructions
-
Must adhere to manufacturer wall-clearance requirements
Wall mounting can provide strong, directional heat, but coverage is narrower than ceiling installations.
Suspension Mounting
Suspended heaters hang from chains or brackets, allowing flexible height options.
Best for:
-
Warehouses
-
Large commercial shops
-
Spaces with very high ceilings
Suspension is ideal for getting a heater closer to the target area when ceilings are above the recommended mounting height.
Flush Mounting (Recessed)
Recessed heaters are installed flush with the ceiling, offering an architectural, minimalist look. While beautiful, this approach requires additional planning.
Best for:
-
High-end residences
-
Luxury restaurant patios
-
Covered decks
-
Custom-designed outdoor spaces
Limitations:
-
Requires adequate cavity depth
-
Requires ventilation around the heater
-
Not suitable for all heater models
Flush mounting is ideal for design-driven spaces, but planning must be done early in the construction phase.
Heater Angle: Why Tilting Matters in Infrared Heating
Infrared heat travels in a straight line. The tilt angle determines:
-
Where heat lands
-
How far it travels
-
How evenly it spreads
Ceiling-Mounted Heaters
For most applications, heaters should be:
-
Angled between 0° and 30° downward
-
Perfectly horizontal for wide, even coverage
-
Tilted slightly for concentrated areas
Horizontal mounting provides the broadest distribution. Angling creates a more focused heat zone.
Wall-Mounted Heaters
Wall-mounted units typically require:
-
25°–45° downward angle
-
Clear line-of-sight to seating or work areas
If the angle is too shallow, heat won’t reach people. Too steep, and heat intensity may be uncomfortable.
Multi-Heater Designs
Correct angling ensures uniform heating when using multiple units.
For example:
-
Two heaters facing each other creates exceptional immersive warmth
-
Heaters angled inward can cover large tables
-
Symmetrical angling reduces hot and cold spots
Professional layout planning is recommended for commercial installations.
Distance to Target Area: The “Radiant Footprint”
Infrared heat output weakens with distance. The “sweet spot” is where radiant energy lands directly on people or surfaces without being obstructed or scattered.
The Ideal Target Zones
For outdoor or indoor comfort heating:
-
Seated areas: 6–10 ft from heater face
-
Standing areas: 7–12 ft from heater face
If the heater is too far, warmth dissipates. Too close, intensity may feel harsh.
Outdoor Example
A restaurant patio typically positions 8–10 ft heaters angled downward so diners feel consistent warmth without hotspots.
Indoor Example
A garage or workshop might use overhead heaters at 10–12 ft to evenly warm people and the floor surface.
Heater Spacing: How Many Heaters Do You Need?
Spacing determines whether heat feels even or patchy.
General Spacing Guidelines:
-
Small areas: 6–8 ft between heaters
-
Medium patios: 8–12 ft between heaters
-
Large commercial spaces: 12–15 ft between heaters
Spacing also depends on:
-
Heater size
-
BTU output
-
Wind exposure
-
Ceiling height
-
Indoor vs outdoor environment
Commercial designers often overlap heating zones by 10–20% for seamless comfort.
Indoor vs. Outdoor Positioning
Placement differs significantly depending on whether your heater is indoors or outdoors.
Outdoor Positioning
Outdoors, infrared heaters must overcome:
-
Wind exposure
-
Open air movement
-
Temperature swings
Best Placements Outdoors:
✔ Along perimeter beams
✔ Positioned above seating zones
✔ Evenly spaced along long patios
✔ Mounted under overhead structures
✔ Never aimed at open space where heat is wasted
Wind Considerations
Infrared heat does work in wind, but direct wind reduces perceived warmth. The goal is always to place heaters:
-
Under cover
-
Behind windbreaks
-
Near occupied zones
-
At angles that minimize heat loss
Indoor Positioning
Indoors, heaters benefit from:
-
Stable air
-
Higher reflectivity
-
Increased surface absorption
-
Reduced heat loss
Best Placements Indoors:
✔ Evenly spaced overhead
✔ Suspended or ceiling-mounted
✔ Angled to warm working or seating zones
✔ Positioned to avoid shadows caused by machinery
Workshops and garages often need higher heating outputs because concrete floors absorb radiant energy before re-radiating it back into the space.
Safety Clearances & Code Considerations
Every heater has its own clearance requirements. These include:
-
Clearance above heater
-
Clearance below heater
-
Clearance from walls
-
Clearance from combustible materials
-
Clearance from roofing or beams
Ignoring clearances risks:
-
Overheating
-
Fire hazards
-
Damage to structures
-
Voided warranties
Common Clearance Ranges:
-
Above heater: 6–24 inches
-
Below heater: 36–72 inches
-
Side clearance: 18–48 inches
Calcana heaters typically require generous overhead clearance due to their high output and commercial-grade performance.
Common Mounting Mistakes & How to Avoid Them
Mounting too High
Radiant heat weakens with distance. Avoid mounting above manufacturer recommendations.
Aiming Heaters at Walkways Instead of Seating
Infrared heat should be directed at people, not open space.
Mounting in Windy Areas without Windbreaks
Wind won’t “blow away” radiant heat, but it will make users feel cooler.
Installing the Wrong Output Level for the Height
Higher ceilings require stronger BTU.
Obstructed Radiant Path
Plants, décor, beams, and partitions block heat.
Using Mismatched Heaters in a Multi-Unit Layout
Consistency ensures even coverage.
How Calcana’s Design Makes Mounting Easier & More Effective
Calcana heaters are engineered to provide:
-
Controlled radiant heat
-
Adjustable output up to 16 levels
-
Wide, even heat distribution
-
Flexible mounting options
-
High-efficiency performance
Key Advantages:
✔ Long-Range Radiant Throw
Calcana heaters project warmth farther than many patio heaters, giving more flexibility in mounting height.
✔ Wide Distribution Pattern
Fewer heaters are needed per square foot.
✔ Whisper-Quiet Operation
No fans means no air displacement, making mounting placement more forgiving.
✔ Marine-Grade Durability
Perfect for outdoor exposure, reducing restrictions on location.
✔ Low-Clearance Ability
Models offer reduced-clearance installation for tight spaces.
Mounting Examples for Different Environments
Below are practical mounting layouts for real-world spaces.
Residential Patio or Deck
-
Mount heaters 8–10 ft high
-
Angle down 15°–30°
-
Position above seating, not walking paths
-
Space units 8–12 ft apart
-
Avoid mounting where wind exposure is highest
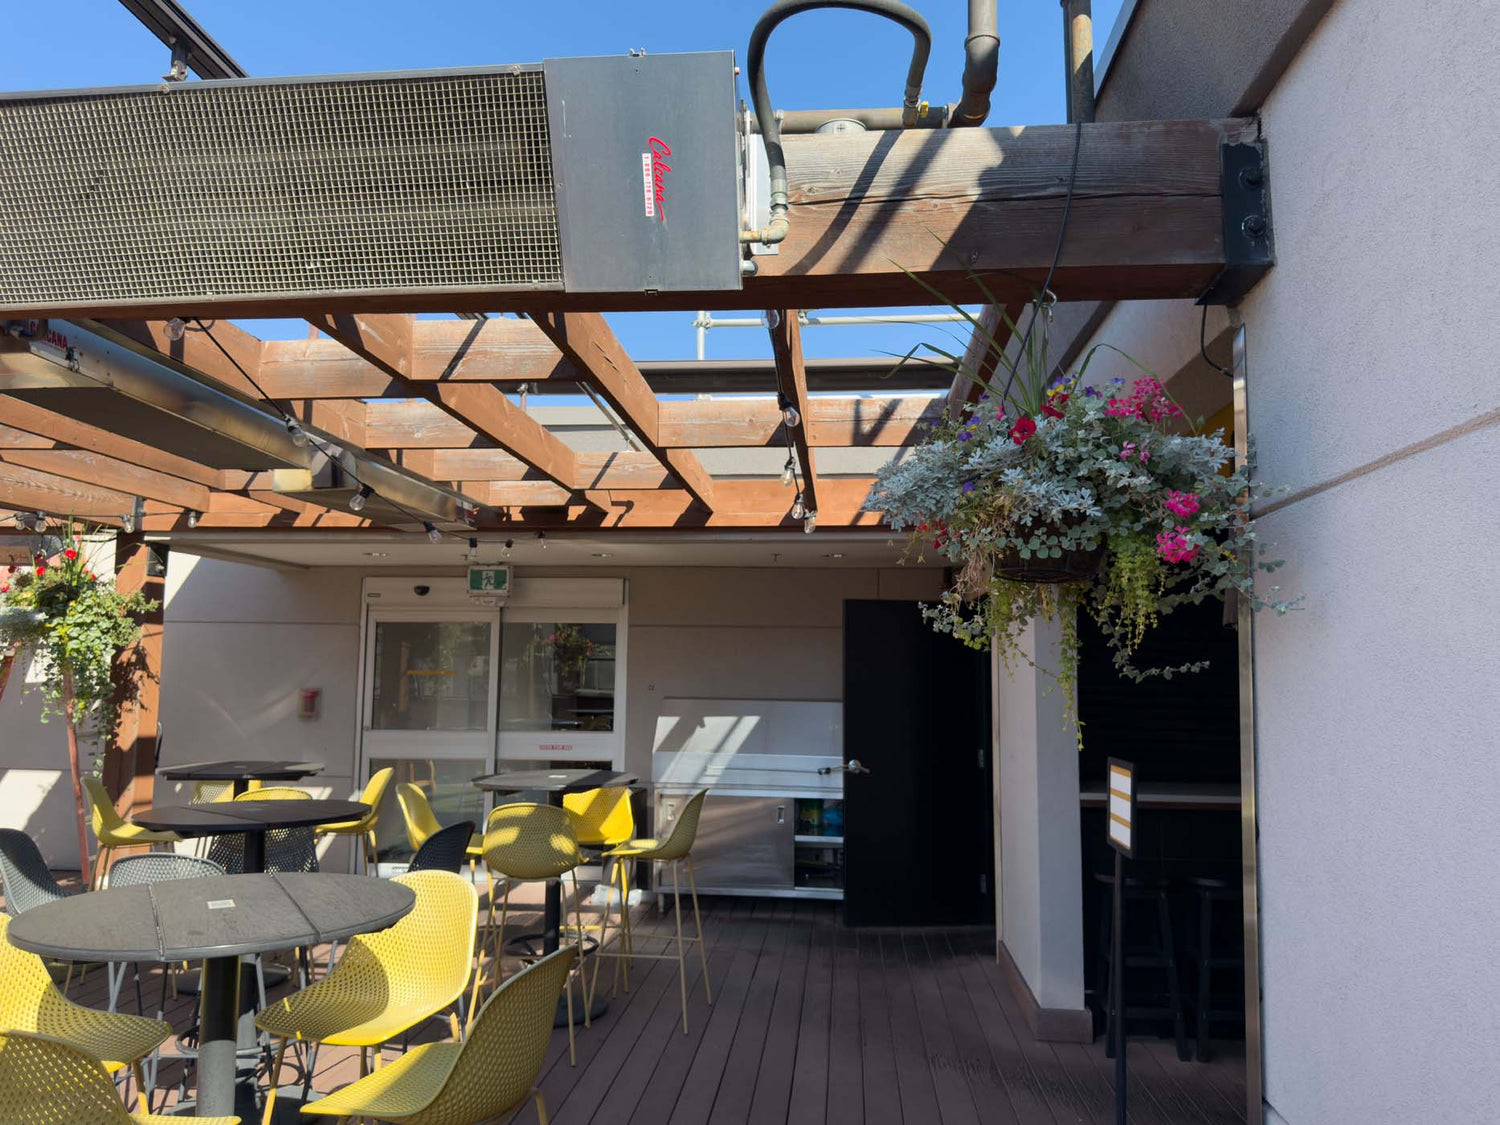
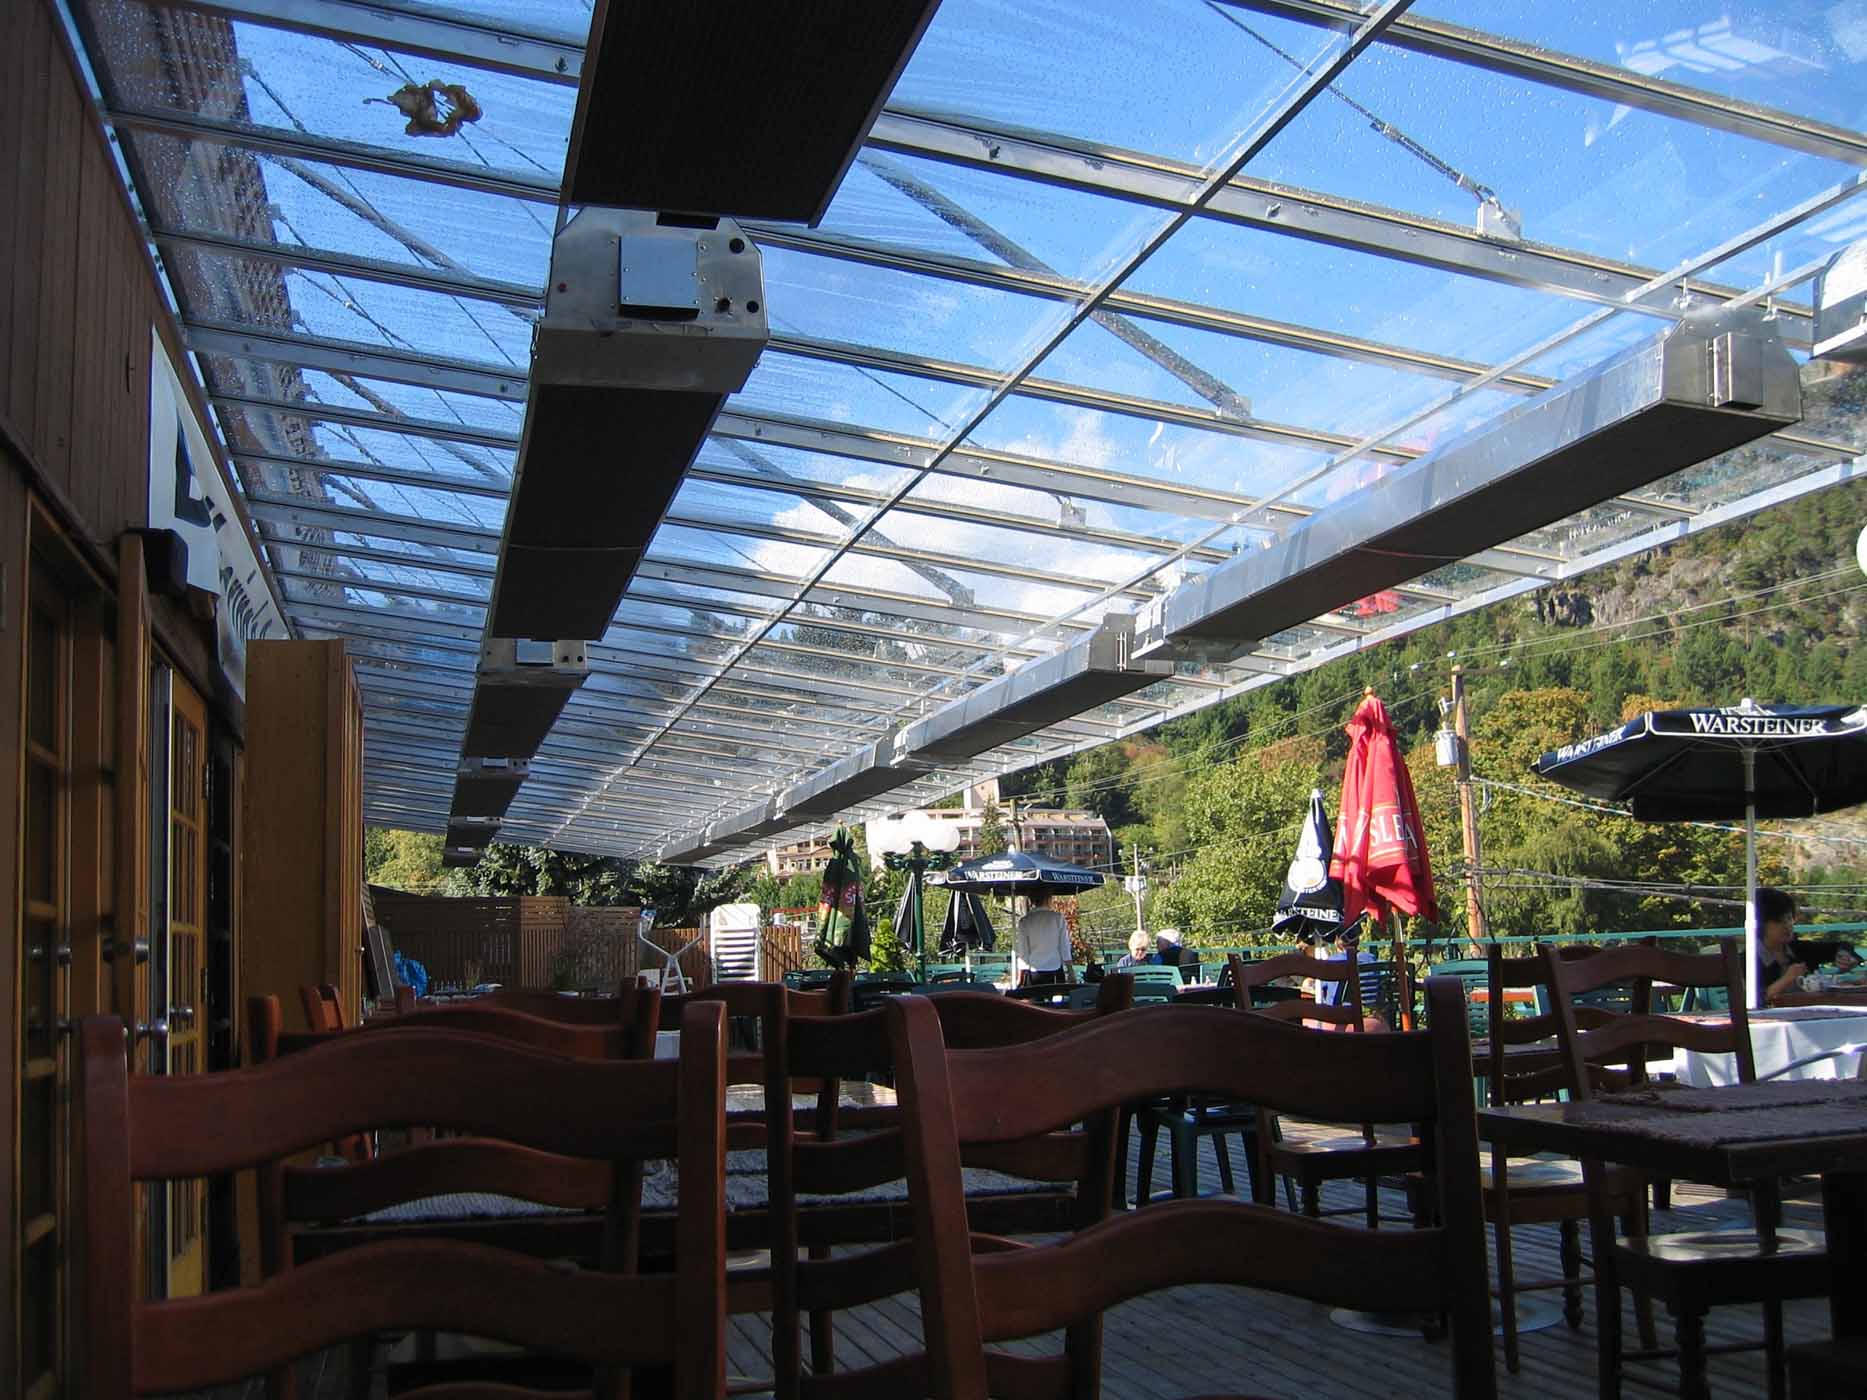
Restaurant Patio
-
Use multiple units for overlapping radiant zones
-
Prefer ceiling or beam mounting
-
Angle downward toward tables
-
Maintain all clearance requirements
-
Consider zoning controls for different seating sections
Restaurants rely heavily on infrared to extend patio seasons and create predictable comfort regardless of weather.
Garage or Workshop
-
Mount overhead at 7–14 ft
-
Position above work areas
-
Use higher outputs for concrete-heavy spaces
-
Avoid wall mounting where it may create uneven heat
Industrial Spaces
-
Use suspension mounting
-
Position heaters above worker activity zones
-
Use higher heat levels for tall ceilings
-
Maintain clear radiant paths
Large spaces benefit from radiant heat because it warms people and surfaces without wasting heat on unused air volume.
Final Thoughts: Proper Mounting = Maximum Comfort
The performance of an infrared heater is only as good as its placement. When mounted and positioned correctly, infrared heat provides:
-
Fast, natural warmth
-
Energy-efficient comfort
-
Even, consistent coverage
-
Better winter usability for patios
-
Improved indoor working conditions
-
Lower overall heating costs
Calcana heaters are designed for flexibility, durability, and powerful radiant throw, but achieving peak performance requires proper installation planning.
Mount your heater in the right place, at the right height, at the right angle, and infrared technology will deliver the warm, sun-like comfort it’s known for.

Leave a comment
This site is protected by hCaptcha and the hCaptcha Privacy Policy and Terms of Service apply.